DIY Fabric Scrap Christmas Ornaments: A Simple No-Sew Guide
Turn a bag of fabric offcuts into folded, glued Christmas ornaments — no machine, no pattern, no sewing...

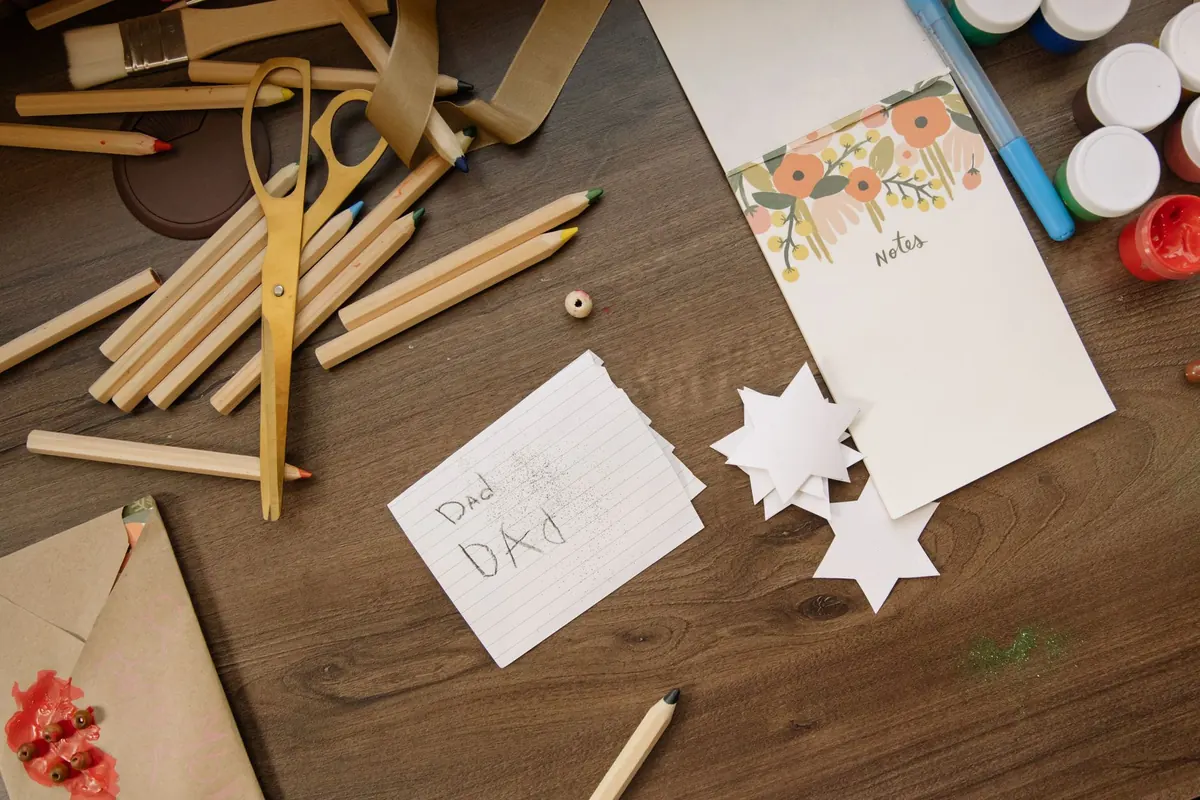
Rain on a Saturday has its own sound: the day rearranging itself. The park is out, the bike is out, and everyone is suddenly in the same three rooms. Someone will announce they're bored within twenty minutes.
You could hand over a screen, and some afternoons that is the sensible call. But there is a middle option that tends to work better than anyone expects: a project with a clear beginning and a clear end, made from things already in the cupboard, that doesn't leave the kitchen looking like an art-room explosion. The ten below are sorted by who is sitting at the table. None of them require a trip to the shop, and all of them can be packed away before dinner.
Most craft mess doesn't come from the materials. It comes from spreading out. A plastic sheet, an old shower curtain or a rimmed baking tray under the work changes everything — the tray is best for small children, because it can be carried to the sink in one piece. Set out a damp cloth and a roll of kitchen paper before anyone sits down, and decide in advance where wet things will dry. A tray on top of the fridge is a good, cat-proof spot.
You probably already own enough to cover all ten projects. The short list:
One rule worth keeping: glue sticks and white glue for children, solvent-based adhesives for adults only, and a window open if anything smells strong.
Give a child a roll of masking tape and a large sheet of paper — the back of a roll of wallpaper is ideal, but a few sheets taped together works. The tape becomes roads, roundabouts, parking bays, a river. Markers add houses, trees and a shop. Small cars or blocks finish it. When interest fades, peel the tape off and the whole town goes in the recycling. Test the tape on a painted wall or wooden floor in a hidden corner first; most masking tape lifts cleanly, but not all of it does.
Cut one-inch strips from magazine pages or paint colour cards. Fold a sheet of A4 paper in half, then cut slits from the folded edge inward, stopping short of the open edge to leave a border. Open it out and you have a loom. Weave the strips over and under, alternating each row, and glue the ends down with a glue stick. It is quiet, repetitive work that suits children who need something to do with their hands, and the result is good enough to give to a grandparent.
Peel the paper from a few crayons and lay a sheet over coins, leaves, corrugated cardboard, a textured placemat, the tread of a clean shoe. Rub the side of the crayon across the top and the shape appears. Tape the objects down first so they don't slide — that one detail is the difference between a satisfying ten minutes and a frustrating one. Practically no mess, no drying time, and it works for a three-year-old and a nine-year-old at the same table.
Colourful advertisement pages from a magazine work best. The process is simple and oddly absorbing:
Make a few first yourself so you can show the rolling technique. A loose first turn is what makes a bead slide off the skewer.
Cut wrapping paper, magazine pages or printer paper into squares and work through the classics: the boat, the cup, the crane. Keep a box of spare squares, because the failures are the point — folding badly and unfolding is how the shapes get learned. It is one of the few crafts that takes up no more space than a dinner plate.
Cut a rectangle of corrugated cardboard and notch the top and bottom edges with six to eight slots. Wrap yarn around the notches to make the warp, then weave yarn scraps or thin fabric strips across with fingers or a blunt needle. Tie the ends, slide it off the loom, and knot the loose threads together. The cardboard can be reused or dropped in the recycling.
Two metres of cotton cord and a split ring are enough for a keychain that takes about half an hour. Anchor the ring to a drawer handle or a heavy mug, then repeat one knot — the square knot — until the cord runs short. Working on a tray keeps the cord from wandering across the floor. It is the sort of project that suits a rainy afternoon with a podcast on, and it teaches a knot you can scale up later.
Cut painted scraps, paint colour cards and magazine pages into bold shapes, arrange them on a sheet, and glue with a stick. There is no drying time, no fumes, and the only cleanup is putting the lid back on the glue. Work on a sheet of scrap paper so the trimming goes straight into the bin.
Some afternoons need something even simpler. Keep these in reserve:
Give wet work a shelf and leave it alone. Paper beads, glued placemats and anything painted need a few hours, and moving them too soon is how a good afternoon ends in tears. If a project was made chiefly for the doing rather than the keeping, photograph it before it goes into the recycling — children are usually happy with that trade, and the shelf stays clear.
Then keep a shoebox as the making box: tape ends, yarn scraps, half-used crayons, folded paper. It saves rummaging next time and gives the leftovers somewhere to live. The ten minutes before dinner are the ones that decide whether you will do this again next weekend, so make the reset part of the activity. Everything back in the box, the tray to the sink, the cloth over the table. Tomorrow the table is a table again — which is exactly what makes the next rainy Saturday something to look forward to rather than dread.
Photo: cottonbro studio / Pexels
Turn a bag of fabric offcuts into folded, glued Christmas ornaments — no machine, no pattern, no sewing...
A practical, season-by-season checklist for local craft fairs, covering how much to make, what to pack,...
Tension problems show up as tight chains, aching hands, and wobbly rows. Learn five common crochet tension...