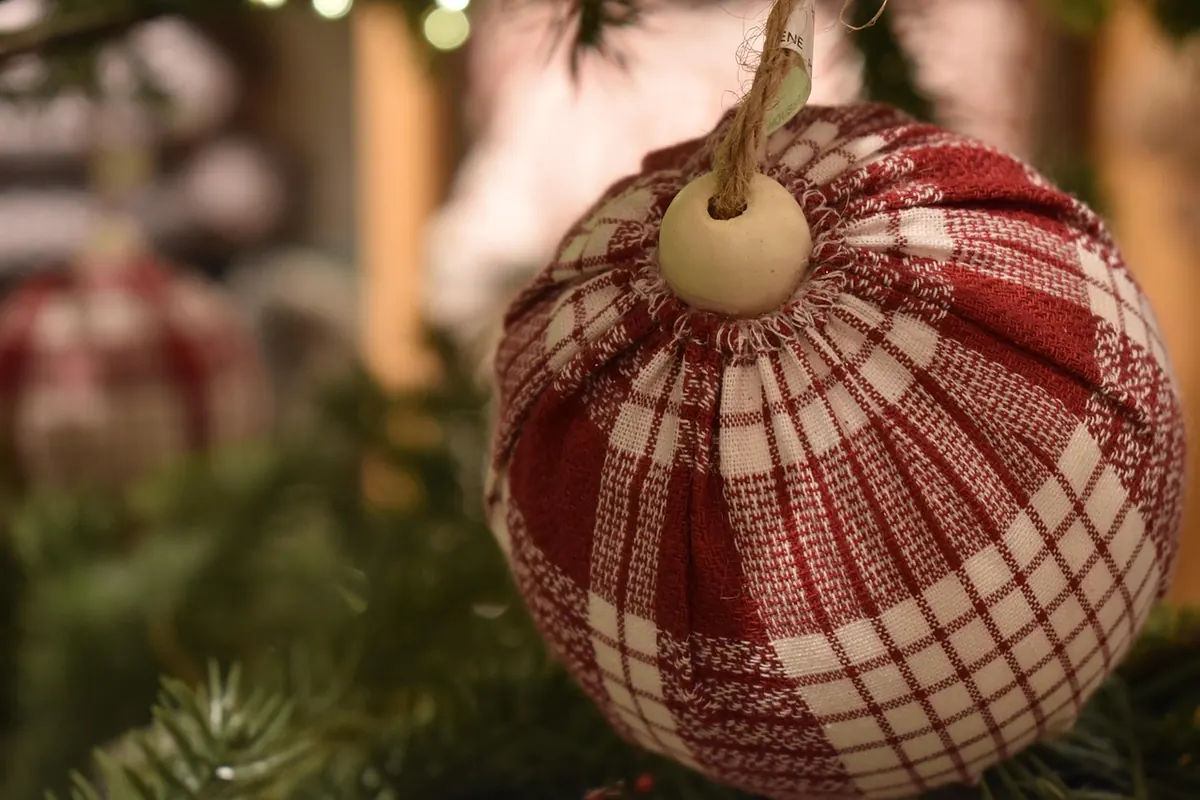
DIY Fabric Scrap Christmas Ornaments: A Simple No-Sew Guide
Turn a bag of fabric offcuts into folded, glued Christmas ornaments — no machine, no pattern, no sewing...

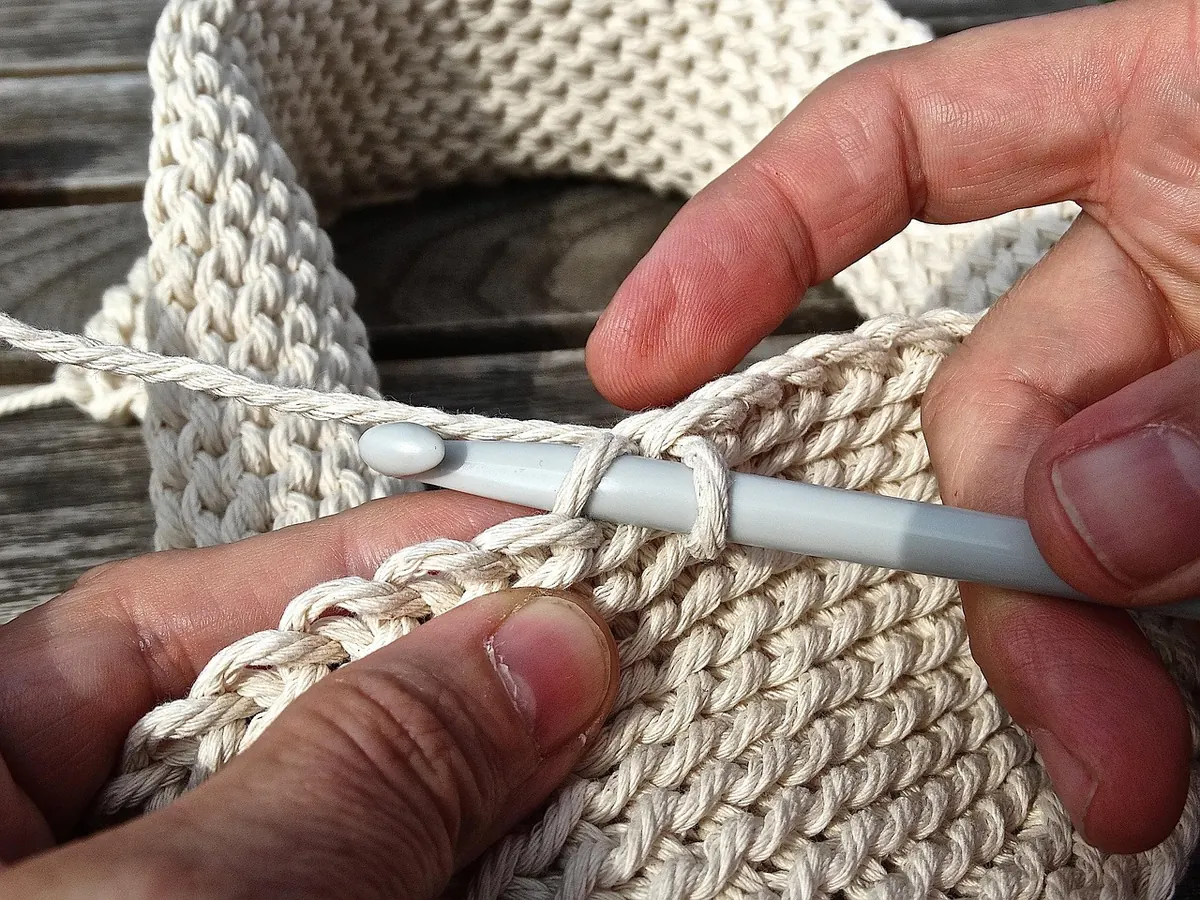
Tension is the quiet skill behind every crochet project that looks effortless. You can know every stitch, follow every row, and still end up with a fabric that curls at the edge, gaps in the middle, or grows wider as you go. That is not a character flaw. It is information. Tension problems leave clues—a foundation chain that fights the hook, hands that ache after ten minutes, stitches that look like they came from three different crocheters. The good news is that most tension mistakes are fixable with small adjustments and a little deliberate practice. Here are five common ones, how to recognise them, and exercises that actually change the way your hands work.
The first row is where many tension problems begin. A tight foundation chain is easy to spot: it curls, it refuses to lie flat, and when you try to work the first row, the hook squeaks through each chain. By the time you finish the row, your hand is tired and the fabric already looks pinched.
Most crocheters tighten the chain because they are focused on making each loop neat. The chain is also worked before the fabric has any weight to pull it open. If you crochet the chain with the same hook you plan to use for the body, the foundation can end up smaller than the rest of the project.
The fix: Work the foundation chain with a hook one or two sizes larger, then switch back to your normal hook for the first row. Keep your loops loose enough that the hook slides without dragging. If you prefer a stretchier edge, learn a foundation single crochet or foundation double crochet. These build the first row and the chain at the same time, and they are more forgiving than a tight chain.
Chain 20 stitches with your normal hook. Look at the chain: it should not spiral or curl into a tight rope. Pull it gently between your fingers. Now chain 20 more with a hook two sizes larger. Work a row of single crochet into each chain with your normal hook. Compare the two. The larger-hook chain should accept stitches without puckering. Repeat until the looser chain feels normal rather than sloppy.
If your hand aches after ten minutes, your tension is probably being controlled by force rather than rhythm. A death grip on the hook or yarn feels productive—it seems like you are being precise—but it usually makes stitches tighter and more uneven. It also makes crochet exhausting.
You might notice the hook handle pressing into your palm, the yarn squeaking through your fingers, or your shoulders creeping toward your ears. Slippery yarn and metal hooks can make this worse, because the instinct is to clamp down to keep control.
The fix: Let the hook do the work. Hold it lightly enough that you could slide it out of your hand if you wanted to. Try a pencil hold and a knife hold to see which gives you more control with less force. Keep your shoulders down and your elbows relaxed. Support the yarn with your fingers, not your whole hand. If you are using a slippery yarn, a wooden or bamboo hook can provide more grip without extra pressure.
Make a 15-stitch swatch in single crochet. Work one row, then stop and check your grip. Can you wiggle the hook? Can you breathe out? Every few rows, let go of the hook and yarn, shake out your hands, and pick them up again with a lighter hold. You may need to consciously loosen your grip several times before it becomes normal. That is part of the practice.
Uneven stitches often come from uneven yarn feed. The yarn going into your hand changes tension as the skein rolls, as you pull more length, and as you look away from the work. One stitch is tall, the next is short, and the row has a wobbly edge even though you counted correctly.
This mistake is common when you crochet from a loose skein on the floor, when you pull yarn from the outside of a ball, or when you stop and restart frequently. The yarn path changes, so the tension changes with it.
The fix: Establish a repeatable path for the yarn. Many crocheters wrap it around the pinky or run it over the index finger; the exact method matters less than keeping it the same. Put the skein in a bowl or bag so it does not roll across the room. Keep the working yarn on the same side of your body. Check every few stitches to see whether the last stitch looks like the one before it.
Work a 20-stitch row of half double crochet. After every five stitches, look at the last stitch. Are the loops the same height? If not, undo to the last good stitch and rework it. This is not punishment; it is calibration. Another useful drill is to crochet a row, turn, and work back, aiming for the same tension in both directions. Many people crochet tighter on the return row without realising it.
Rowing out means each row gets a little taller or wider than the one before. A scarf becomes a trapezoid. A blanket edge slants. The stitch count may be correct, but the fabric still grows because your stitch height or turning chain is drifting.
This often happens with taller stitches, where the turning chain can be too tight or too loose. It also happens when you accidentally work into the turning chain on some rows and skip it on others. The result looks like a tension problem because the fabric is uneven, but the cause is a mix of stitch height and edge habits.
The fix: Count stitches at the end of every row until the habit is solid. Use stitch markers in the first and last stitch of each row. Decide whether your turning chain counts as a stitch, then stay consistent. Keep the turning chain loose enough to match the height of the row, but not so large that it leaves a gap.
Make a 15-stitch swatch in double crochet. Place a marker in the first and last stitch of each row. After ten rows, lay the swatch flat and measure the width at the bottom and the top. If the top is wider, you are adding stitches. If the rows are taller, your turning chain or stitch height is growing. Rip back to row one and repeat, checking after every row. It is tedious for one swatch, but it teaches your hands where the edge lives.
Tension is personal. Two crocheters can use the same hook, yarn, and pattern and produce different fabric. A gauge swatch is not busywork; it is a diagnostic tool. Skipping it is a tension mistake because you never learn your baseline for that yarn and stitch.
The fix: Make a swatch at least 10 cm / 4 in square in the stitch pattern. Measure it before blocking, and again after blocking if the project will be blocked. If you have too many stitches in the measurement, go up a hook size. If you have too few, go down. Do not force a match by gripping the hook harder; adjust the tool instead. Write down the hook size and the stitch count so you can repeat the result.
Choose a simple stitch such as single crochet or half double crochet. Chain enough for 4 inches plus four stitches. Work until the swatch is 4 inches tall. Measure the centre 4 inches and count both stitches and rows. Then work a second swatch with a hook one size different. Compare the two. This teaches you what your normal tension feels like with each hook, which is far more useful than guessing.
Pick one mistake from this list and spend ten minutes on it before starting your next project. Make a small swatch, use a marker, and check your grip. The goal is not to crochet like a machine. It is to make fabric that behaves consistently enough that you can trust it.
Your tension will change with the yarn, the hook, your mood, and how tired your hands are. That is normal. The useful skill is noticing the change early—before you have crocheted twenty rows with a death grip or a drifting edge. When you can diagnose a tight chain or a wobbly row, you can correct it without ripping out the whole project. That is the real goal: not perfect tension, but tension you understand.
Photo: 422737 / Pixabay
Turn a bag of fabric offcuts into folded, glued Christmas ornaments — no machine, no pattern, no sewing...
A practical, season-by-season checklist for local craft fairs, covering how much to make, what to pack,...
A practical side-by-side look at frame looms and rigid heddle looms — what each costs, how hard it is to...