DIY Fabric Scrap Christmas Ornaments: A Simple No-Sew Guide
Turn a bag of fabric offcuts into folded, glued Christmas ornaments — no machine, no pattern, no sewing...

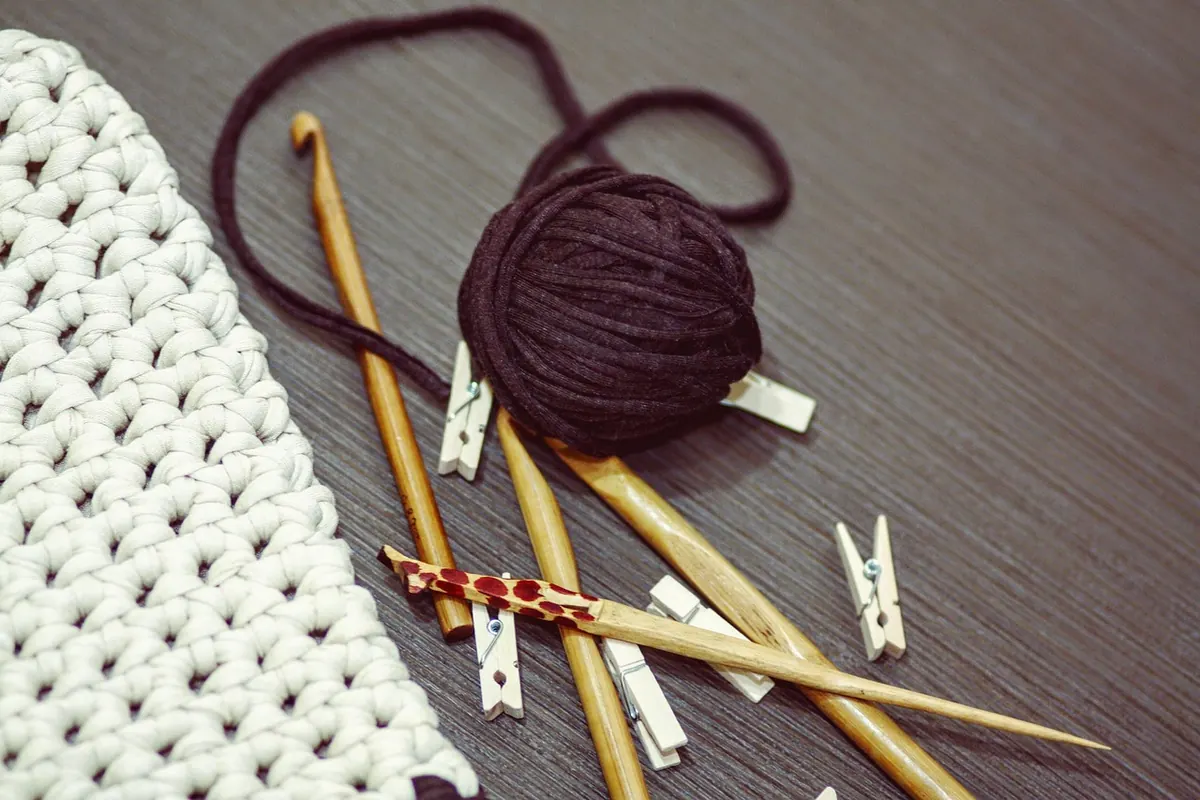
Every crocheter has met the same small betrayal: the yarn label suggests a hook, the pattern names a size, and the square in your hands looks almost right. Then the finished hat fits a doll, or the cardigan that should skim your shoulders pulls across the back. Hook sizes and gauge are not fussy details for perfectionists. They are the quiet measurements that decide whether a project fits, drapes, and uses the yarn you set aside.
Crochet hooks are sized by the diameter of the shaft, usually in millimeters. That number is the most reliable piece of information on the hook. US letter sizes and old UK numbers are useful labels, but they are not universal. A 5 mm hook may be sold as an H-8 in US terms, while old UK numbering runs in the opposite direction: smaller numbers often mean larger hooks. When a pattern gives only a letter, check the millimeter equivalent before you start.
Manufacturers shape the head, throat, and handle differently, so a 4.5 mm hook from one brand can feel unlike a 4.5 mm hook from another. The difference is usually small, but it can matter in a tight gauge. If you have already made a swatch with one hook and then switch brands, give the new hook a quick test before committing to a whole garment.
Yarn labels usually suggest a hook range, and that range is a sensible starting point. Yarn weight categories are broad, though, and two yarns in the same category can behave very differently. A smooth DK and a fluffy DK may both call for a 4 mm hook, but one may want 3.5 mm for stitch definition while the other blooms into a softer fabric at 5 mm.
These ranges overlap on purpose. The right hook depends on the fabric you want. For amigurumi, you often go down a size or two so the stuffing does not show through. For a lacy shawl, you may go up so the fabric opens and drapes. A dense potholder and a soft scarf can use the same yarn and still need different hooks.
If the label suggests 5 mm but your fabric feels stiff as cardboard for a drapey scarf, try a larger hook. If the label suggests 5 mm but your toy fabric shows gaps, try a smaller one. Your hands, tension, and stitch pattern all have a vote.
Gauge is the number of stitches and rows you get in a measured area, usually 4 inches or 10 cm. Patterns are written around the designer’s gauge, and that gauge comes from the designer’s hands. Your tension is your own. Two crocheters can use the same yarn, the same hook, and the same stitch and still produce squares that differ by several stitches across a few inches.
That difference grows with the project. Imagine a pattern gauge of 16 stitches per 4 inches, with a sweater body of 200 stitches. At the pattern gauge, that body should measure 50 inches around. If your swatch gives 18 stitches per 4 inches, those same 200 stitches will measure closer to 44 inches. That is more than 5 inches smaller, enough to turn a relaxed sweater into a tug-of-war. A swatch would have shown the problem in twenty minutes, before you crocheted the body.
Row gauge matters too. It affects sleeve length, armhole depth, and the height of colorwork or textured stitch patterns. Stitch gauge usually has priority for width and fit, but ignoring row gauge in a garment can leave you with sleeves that end above the wrist or a yoke that sits too high.
Edges are unreliable. They can pull in, flare out, or curl, so keep your measuring area away from them. For stitch patterns with repeats, measure whole repeats where possible. And write down the hook size in millimeters, the yarn, the stitch, and the gauge after blocking. A small note saves you from remeasuring the same yarn six months later.
Changing hook size is not only a fit correction. It changes density, drape, and yarn use. Going up a hook size may give you the right stitch count but a fabric that sags or lets light through. Going down may fix the gauge but make a garment stiff. Move one size at a time, then look at the swatch as a piece of fabric, not just a number.
If your stitch gauge matches but your row gauge does not, you can often adjust length as you go: add or remove rows in plain sections, or follow the pattern’s shaping instructions for a different size. In complex garments, colorwork, or patterns with strict row counts, row gauge deserves more attention. A swatch tells you where you need to pay attention.
Yarn substitutions make swatching even more important. Two yarns can share a weight category and still crochet at different gauges because of fiber, twist, and elasticity. A smooth cotton and a springy wool may both be labeled DK, but they will not behave the same in a fitted cardigan. Swatch with the yarn you actually plan to use.
None of these mistakes are disasters. They are simply easy places to lose time. A quick check at the start keeps small errors from becoming whole projects.
Before you commit to a sweater, a hat, or anything that must fit, make a proper swatch. Note the hook in millimeters, the yarn, the stitch, and the gauge after blocking. Keep the swatch with the project or tape a label to it. It takes an evening and can save weeks of unraveling. For scarves and loose blankets, you can be more relaxed, but even then a quick swatch tells you whether the fabric will drape the way you imagined. Crochet is generous with second chances; gauge just helps you need fewer of them.
Photo: 742787 / Pixabay
Turn a bag of fabric offcuts into folded, glued Christmas ornaments — no machine, no pattern, no sewing...
A practical, season-by-season checklist for local craft fairs, covering how much to make, what to pack,...
Tension problems show up as tight chains, aching hands, and wobbly rows. Learn five common crochet tension...