DIY Fabric Scrap Christmas Ornaments: A Simple No-Sew Guide
Turn a bag of fabric offcuts into folded, glued Christmas ornaments — no machine, no pattern, no sewing...

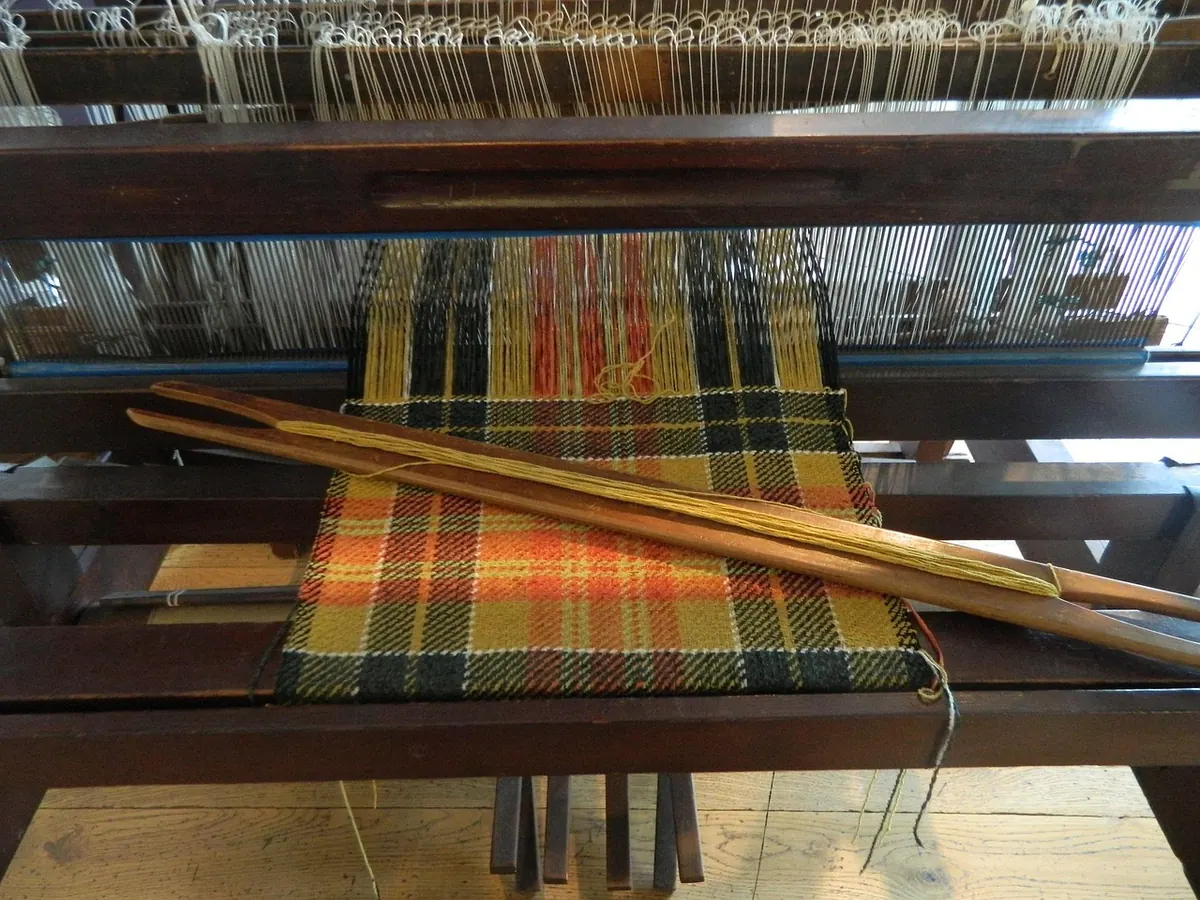
Most people come to weaving with one picture in their head. For some it is a wall hanging with thick fringe and a few bold colour blocks. For others it is a scarf with a stripe that falls exactly where they planned it. Those two pictures point at two different looms: the frame loom and the rigid heddle loom. Both sit on a table, both cost a fraction of a floor loom, and both teach the same first lesson about tension. They are not interchangeable, though, and buying the wrong one is a quiet way to end up with equipment gathering dust in a cupboard.
Here is what actually separates them, in the order that matters when you are spending your own money.
It helps to know what you are buying before you compare anything else.
A frame loom is a rectangle — usually wood, sometimes heavy cardboard — with notches or nails along the top and bottom edges. You wind the warp around it, lift alternate threads with a shed stick or simply with your fingers, and pass the weft through with a needle, a shuttle or a small ball of yarn. There is no heddle bar, no reed, no moving parts. Many frame looms are little more than a frame, a stick and a fork for beating the weft into place. People build perfectly good ones in a weekend.
A rigid heddle loom also has a frame, but the warp runs between two rollers, one at the front and one at the back. The threads pass through a rigid heddle: a plastic or wooden bar with alternating slots and holes. Lift the heddle and half the threads rise; drop it and they fall, opening the gap — the shed — that you pass the weft through. Because the cloth winds onto the front roller as you work, the warp can be far longer than the loom itself. That single feature is the whole difference in what the two looms can produce.
A basic frame loom is the cheaper way in by a wide margin, and it is the only loom you can plausibly make yourself from scrap wood and a handful of nails. A rigid heddle loom costs more, and the loom is only the beginning of the spending. Budget for a second heddle in a different sett, a warping peg or board, a stand or clamps, and at least one shuttle. Prices vary a lot by country and maker, so check current listings from shops near you rather than trusting a figure someone quoted in a blog post three years ago.
Hidden costs worth planning for:
Secondhand is a sensible route for either. On a frame loom, check that the frame is square and the notches are intact. On a rigid heddle, inspect the heddle itself for cracks and missing teeth, make sure both rollers turn freely and ratchets hold, and ask whether any warp is still on it — old warp means the previous owner stopped mid-project, which tells you something.
The frame loom is the gentler teacher. Warping is a matter of winding yarn around the frame at even spacing, and then you weave. Every thread is visible, every mistake is easy to undo, and you can see how the cloth builds up row by row. It is a good place to learn what "even tension" means with your hands rather than with a mechanism.
The rigid heddle asks more of you in the first hour. You will learn to direct-warp using a peg clamped across the room, to thread slots and holes in the right order, to choose a sett that suits your yarn, and to find the neutral position that keeps the shed clean. Most people are weaving plain weave within an afternoon. The payoff is that once the loom is dressed, the rhythm is fast and the selvedges behave.
One piece of advice that saves beginners weeks: match your yarn to the heddle. Wrap the yarn around a ruler for an inch and count how many strands fit snugly side by side. That number is your rough sett, and you want the heddle closest to it. Too fine a heddle and the warp abrades; too coarse and the cloth is sleazy and loose.
This is where the choice usually settles itself.
A frame loom is a tapestry tool. It is for wall hangings, colour blocks, shapes, rya knots, soumak lines, coasters, small bags and sample patches. You can stop halfway, change direction, weave a triangle, leave a gap. What it does not do well is long lengths of flat cloth, fine fabric, or anything with a firm enough selvedge to cut and sew.
A rigid heddle loom is a cloth tool. It makes scarves, table runners, towels, napkins, blankets in panels and fabric for a simple garment. With a pick-up stick you can add floats, lace and texture, which keeps it interesting for years. It handles length beautifully and shaping poorly.
Ask yourself which object you want to hold in your hands in six weeks: a hanging for the wall, or a scarf around your neck.
A frame loom wins on space. It leans against a bookcase, hangs on a wall, slides under a bed, and you can weave with it propped on your knees. The catch is that you reach over the top and bottom edges to work, so a large frame is awkward on a sofa. Something around forty to sixty centimetres wide is a good first size.
A rigid heddle loom needs a table to clamp to, and direct warping needs clear floor and wall space behind the loom — often a couple of metres of it. In a small flat, wind the warp on a board or around chair legs instead of using the peg method. The heddle clicks as you change sheds, which is either soothing or annoying depending on your household.
Choose a frame loom if you want to make hangings and textured pieces, you have limited space and budget, you enjoy working by hand with few tools, or you genuinely are not yet sure that weaving will stick. It is an inexpensive, honest test of the hobby.
Choose a rigid heddle loom if you want to wear or use what you make, if you are drawn to stripes and pattern rather than texture, if you have a table and a bit of floor, and if you suspect you will want a floor loom later — the warping and tension skills transfer directly.
Buying one and later adding the other is normal and not a waste. Plenty of weavers keep a frame loom for tapestry experiments alongside a rigid heddle for cloth.
Before you spend anything, weave one small thing. Borrow a frame loom, take a single workshop at a local guild or craft shop, or make a cardboard loom and weave a coaster. Two evenings will tell you more about whether you enjoy the slow rhythm of it than any comparison can.
When you do buy, buy the one that matches your second project, not your first. Your first project is a test; your second is the hobby. And whatever you choose, start with a yarn you can see clearly — a smooth, medium-weight cotton or wool in a light colour, not a fluffy mohair that hides every mistake. Weave a small sample first, write the yarn and the sett on a label, and keep it. That little pile of samples becomes the most useful reference you own.
Photo: dagrimshaw / Pixabay
Turn a bag of fabric offcuts into folded, glued Christmas ornaments — no machine, no pattern, no sewing...
A practical, season-by-season checklist for local craft fairs, covering how much to make, what to pack,...
Tension problems show up as tight chains, aching hands, and wobbly rows. Learn five common crochet tension...