DIY Fabric Scrap Christmas Ornaments: A Simple No-Sew Guide
Turn a bag of fabric offcuts into folded, glued Christmas ornaments — no machine, no pattern, no sewing...

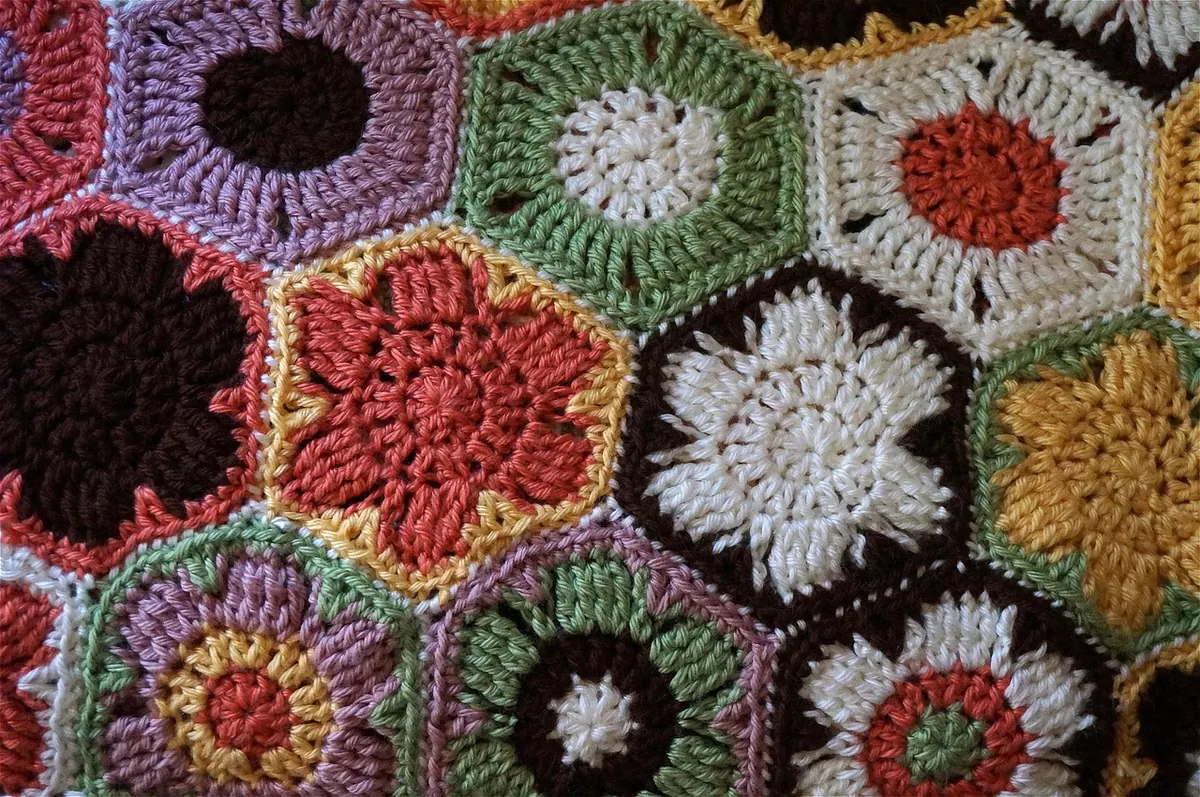
You finish the last cluster of a granny square, pull the yarn through, and lay it flat on the table. The colours work. The edges are straight. And there, at each corner, sits a small bright window of table showing through. Some crocheters love that airiness. Plenty of others don't. They want a blanket that reads as solid, a bag that doesn't let stitch markers escape, a cushion cover that keeps the light out.
The good news is that holes in granny squares are almost never random. They come from three or four very specific places, and each one has a fix you can test on a single square before committing to a whole blanket. Find out which hole you have first, then work backwards.
Not every hole in a granny square is the same hole, and treating the corner chain space like the centre ring will cost you an evening. Spread a finished square out in good light and look at where the light comes through.
Each one points to a different cause. Corners are about chain count and corner tension. Sides are about hook size relative to yarn. Centres are about the starting ring. Seams are about the joining method and how snugly you pull the joining yarn. Fix the wrong one and nothing changes, which is why so many people conclude their granny squares are simply doomed.
The classic granny square is built on deliberate holes. Each corner is usually worked as three double crochet, one or two chains, three double crochet, and that chain exists so the corner can turn a right angle without buckling. Take it away entirely and the square tends to cup, twist into a circle, or refuse to lie flat. So the goal is not zero chain. It is the smallest chain that still lets the corner turn cleanly.
If your pattern says chain two at each corner, try chain one. Work two test squares with the same yarn and hook, block them lightly, and compare side by side. For most worsted and DK yarns, a single chain closes the bulk of the window while keeping the corner crisp. On fine cotton with a 2.5 mm hook you may already be working chain one, and on chunky yarn you may find even one chain feels generous.
A chain is only as tight as the loop you pull up. Plenty of crocheters unconsciously make corner chains looser than their stitches, because the hook has just come out of a dense cluster and the hand relaxes. Before you chain, give the working yarn a small tug, keep the chain close to the hook, and don't pull the loop up tall. It is a half-millimetre habit that changes the look of an entire blanket.
If chain one still leaves an opening you dislike, test a single crochet in place of the chain: three double crochet, one single crochet, three double crochet. The single crochet fills more of the corner while still giving the round somewhere to bend. Swatch it first. On tight tension this can pull the corner inward and shrink the square slightly, which matters a great deal when you are joining dozens of them.
Whatever you choose, choose it for every square in the project. Mixed corner treatments show up as a lumpy, uneven surface long before anyone notices the holes.
Those small slits between clusters are the second most common complaint, and they are nearly always a hook question. A hook that is too large for the yarn produces tall, open stitches that lean away from each other. Drop half a millimetre, from 4.5 mm to 4 mm for instance, and the same pattern tightens noticeably without changing a single instruction.
Yarn matters just as much. Smooth mercerised cotton shows every gap. A woollen yarn with a little halo fills them in as it blooms after washing. If you have fallen for a pattern written in cotton but hate how open it looks, going down a hook size is a far more reliable fix than rewriting the pattern.
Tension drift is the sneaky one. The first two rounds are usually tight because you are paying attention. By round six you are watching television and the clusters grow loose. Measure your square after the final round, and compare it against the first one you made. If the newest is noticeably bigger, that is your answer, and the fix is rhythm rather than technique.
If you joined your starting chain into a ring and worked the first round into that ring, the hole in the middle is the ring. Two fixes work well. The first is to swap to a magic ring, sometimes called an adjustable ring, and pull it fully closed before starting round two. The second is to stay with a chain ring but use three chains instead of four for double crochet, work the first round over the starting tail, then pull that tail snug and darn it in.
Don't simply yank the tail of a chain ring and hope. Pulling hard distorts the first round and leaves a puckered centre that no amount of blocking will flatten. Building the round over the tail gathers the stitches evenly instead, and the centre closes like a drawstring.
You can make impeccable squares and still end up with a gappy blanket, because joining is where tension quietly goes wrong. The method matters less than the snugness.
Whichever you pick, use a hook or tapestry needle half a size smaller than the one you crocheted with, hold the squares right sides together, and match corner to corner, counting the stitches between them. A seam that drifts by two stitches will always look loose, no matter how tidy the squares are.
Worth saying plainly: a completely hole-free granny square is closer to a solid square, and it behaves differently. Traditional granny squares are meant to be slightly open. That is why blankets made from them stay light and drape instead of standing up like cardboard. For a blanket, a throw or a shawl, one chain at the corner is plenty and the small side slits will disappear once the piece is washed and used.
For a bag, a hot pad, a cushion or anything that needs to hold its shape, close the corners down harder, drop a hook size, and consider lining the finished piece. Lining solves the problem permanently and takes less time than reworking twenty squares.
Before you commit to a full project, spend twenty minutes on two sample squares. It will save you hours.
That last step matters most. Most gap problems are not really about technique at all. They are about consistency, and a tape measure catches drift long before your eyes do. Once you know your corner, your hook and your seam, you can make granny squares as tight or as airy as you like, on purpose, every time.
Photo: leoleobobeo / Pixabay
Turn a bag of fabric offcuts into folded, glued Christmas ornaments — no machine, no pattern, no sewing...
A practical, season-by-season checklist for local craft fairs, covering how much to make, what to pack,...
Tension problems show up as tight chains, aching hands, and wobbly rows. Learn five common crochet tension...