DIY Fabric Scrap Christmas Ornaments: A Simple No-Sew Guide
Turn a bag of fabric offcuts into folded, glued Christmas ornaments — no machine, no pattern, no sewing...

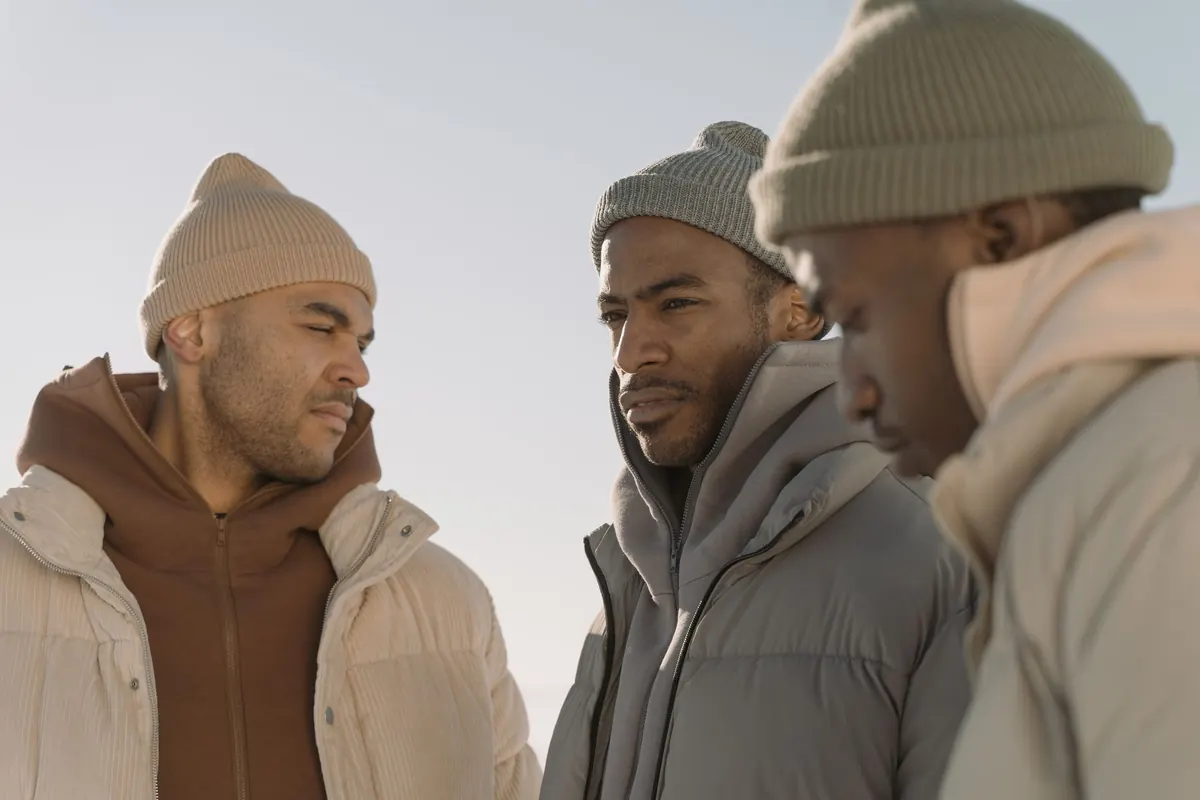
A ribbed beanie is the project most new knitters wish they had started with. It is a tube, a little shaping, and a closing. Nothing more. The only real obstacle is time, and that is what this plan solves: instead of waiting for a free Saturday, you spread the work across five evenings of roughly thirty minutes each. By the end of the week you have a warm hat, a working knowledge of knitting in the round, and a reliable pattern you can knit again from memory.
Sort your materials out in advance, so no evening begins with a hunt through drawers. For an adult hat you need very little, and nothing expensive.
Knit a small swatch on the first evening if you can spare the twenty minutes. Aim for about 20 stitches and 26 rounds to 10 cm in stocking stitch. If your swatch comes out wider, go down a needle size; if narrower, go up. This single step prevents most of the disappointment that comes with a first hat, because a hat that is two sizes off cannot be fixed after the fact.
Cast on 96 stitches using the long-tail method. It gives a firm, tidy edge that holds its shape around the forehead, which matters more on a hat than on almost anything else you will knit. If the long-tail cast on feels awkward, cast on over two needles held together, then slide one out; the edge will be slightly looser but still neat.
Before you join, lay the needle flat on the table and check every cast-on stitch. Each one should sit along the bottom of the needle with its little bump facing the same direction. A single twist here becomes a permanent spiral in the finished fabric, and the only fix is to rip out and start again. Spend thirty seconds now; it saves an evening later.
Join by knitting the first stitch with the working yarn, place your odd marker, and knit one round plain. That is a good place to stop for the night.
Work in 2 x 2 rib: knit two, purl two, around and around. Continue until the ribbing measures 8 to 9 cm from the cast-on edge. This deep band is what makes the hat fit properly and what lets you fold the brim up double if you like a closer fit over the ears.
You do not have to keep counting. Look at the stitch sitting directly below the one on your needle. If it looks like a smooth V, knit it. If it looks like a bumpy horizontal ridge, purl it. Ribbing tells you exactly what to do next, which is why it is such forgiving practice for a beginner. If you lose your place, put the work down, stretch the fabric gently, and the columns of knit stitches will appear as vertical ridges.
Eight centimetres of ribbing is roughly twenty rounds, and that is a comfortable evening's work once you find the rhythm.
From here the hat is plain knitting. Knit every round until the piece measures about 20 cm from the cast-on edge. Because the brim will be folded up, that gives a finished hat of roughly 23 to 24 cm, which sits just above the eyebrows on most adults.
Two habits make this section easier. First, keep the start-of-round marker in place and check it occasionally; a hat knitted in plain stitch hides its own progress, and the marker is your only reliable landmark. Second, measure flat on the table rather than dangling the hat from your needle, where the weight of the knitting stretches it.
If you want the hat to hug the head a little more before the crown starts, knit to 21 cm instead of 20. Slightly longer is almost always safer than slightly short.
The crown takes more attention than the body, but it is only about forty minutes of work, so start it fresh rather than at the end of a long evening.
Once you have decreased a few times, the slanted lines of the shaping become obvious, and the hat turns from a shapeless tube into something recognisably a hat. That moment is worth the wait.
Cut the yarn, leaving a tail about 20 cm long, and thread it onto a tapestry needle. Slip every remaining stitch onto the tail, pull it snug, and pass the needle through the centre of the hole once more from the inside. Draw it up firmly, then work the tail down through the inside of the crown for a few centimetres and trim.
Weave in the cast-on tail the same way, following the path of the stitches rather than running straight across the inside. Then block the hat: soak it in cool water for fifteen minutes, press it gently in a towel, and set it over an upturned bowl or a plate to dry. This settles the ribbing, evens out any slightly loose stitches, and gives the finished hat a professional line. A pom-pom is optional, and a removable one is a good choice if you are not sure.
Keep notes on the pattern: your yarn, your needle size, the number of rounds you worked, and whether the fit was right. Your second hat will take three evenings rather than five, and the third will be something you can knit while talking to someone. Change one thing at a time on the next version — a different brim depth, a contrast colour, a folded double layer for cold weather — and you will build a pattern that genuinely fits your own head.
If anything feels wrong along the way, resist the urge to keep going and hope. Rip back to the last point you were confident about, put the marker back in, and knit forward again. Every experienced knitter does this constantly; it is not a beginner's mistake, it is simply how knitting works.
Photo: cottonbro studio / Pexels
Turn a bag of fabric offcuts into folded, glued Christmas ornaments — no machine, no pattern, no sewing...
A practical, season-by-season checklist for local craft fairs, covering how much to make, what to pack,...
Tension problems show up as tight chains, aching hands, and wobbly rows. Learn five common crochet tension...